This is the 2nd year we've had a garden. Last year we had one bed, 24 square feet. This year we have more than quadrupled that. We have seen some great progress and successes, but we've learned a lot too. Here are twenty lessons I've learned in Gardening 201.

1. I have learned that potatoes (especially white baking potatoes) do not belong in the middle of the veggie bed. So far ours (the monster on the left in the above photo) is 4 feet tall and I have it tied in a bunch to allow the sun to reach some of the other plants. 2. I learned that white potatoes have white flowers and red potatoes have purple ones.

3. I've learned that seven-foot-tall trellises are as high as anyone can comfortably pick from without a ladder (I'm glad that's what we have). 4. I've observed how MUCH the sun angle changes over the course of the year here in the Seattle area. Now our entire front yard is sunny, and the trellises actually cast a shadow forward onto the beds.


5. Now I know that a half-row of sweet peas makes the whole front yard smell good. 6. But nothing can be trellised with them - they are too thick and grabby.
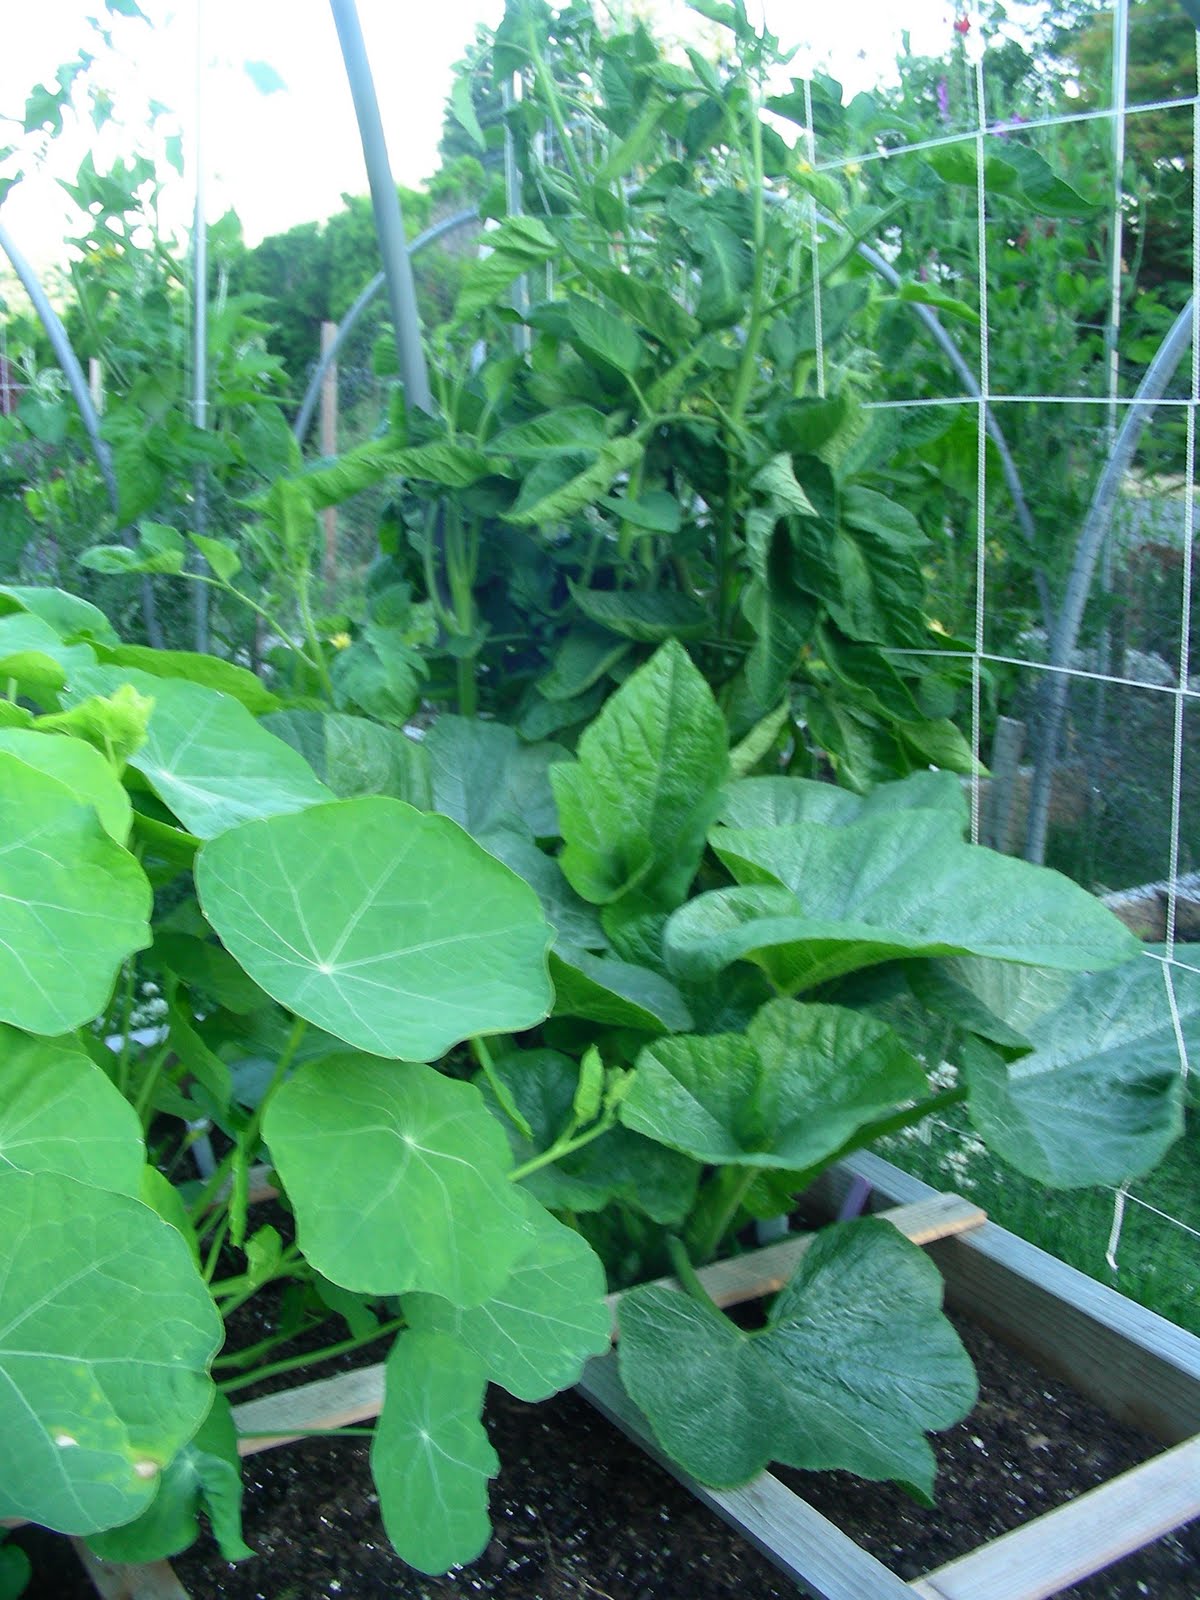
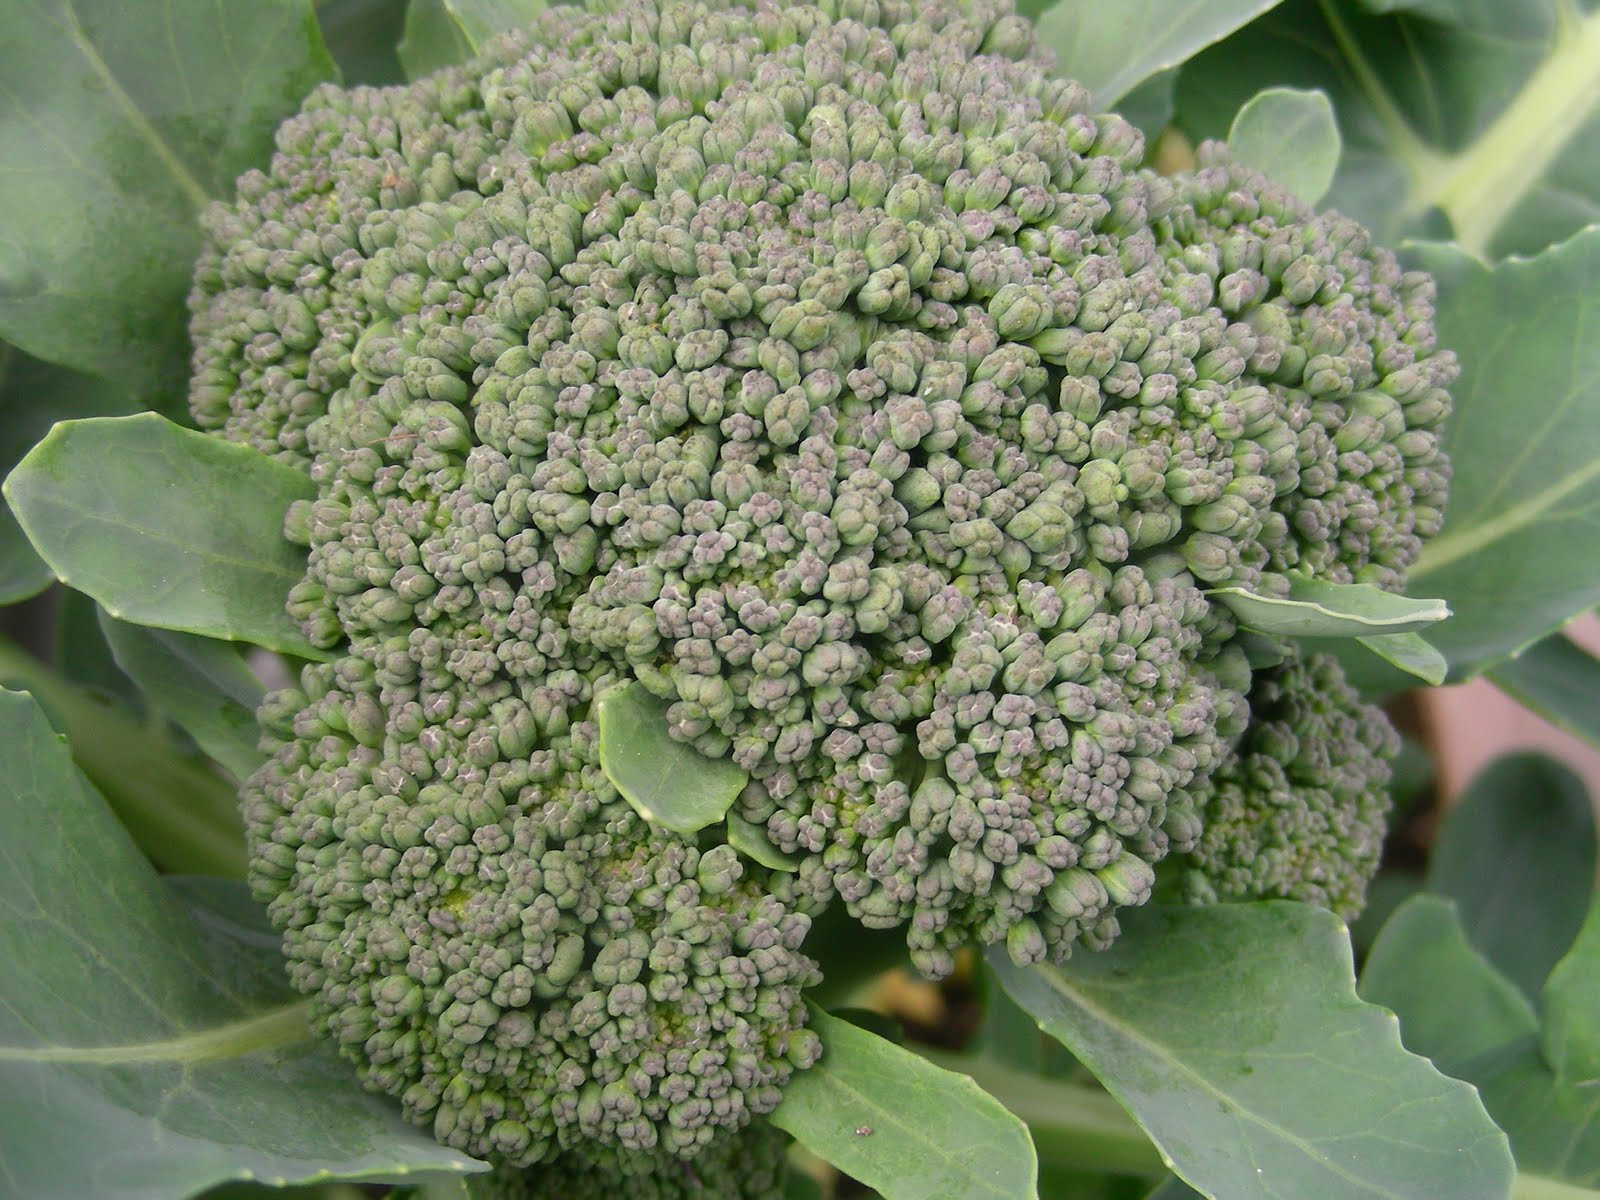
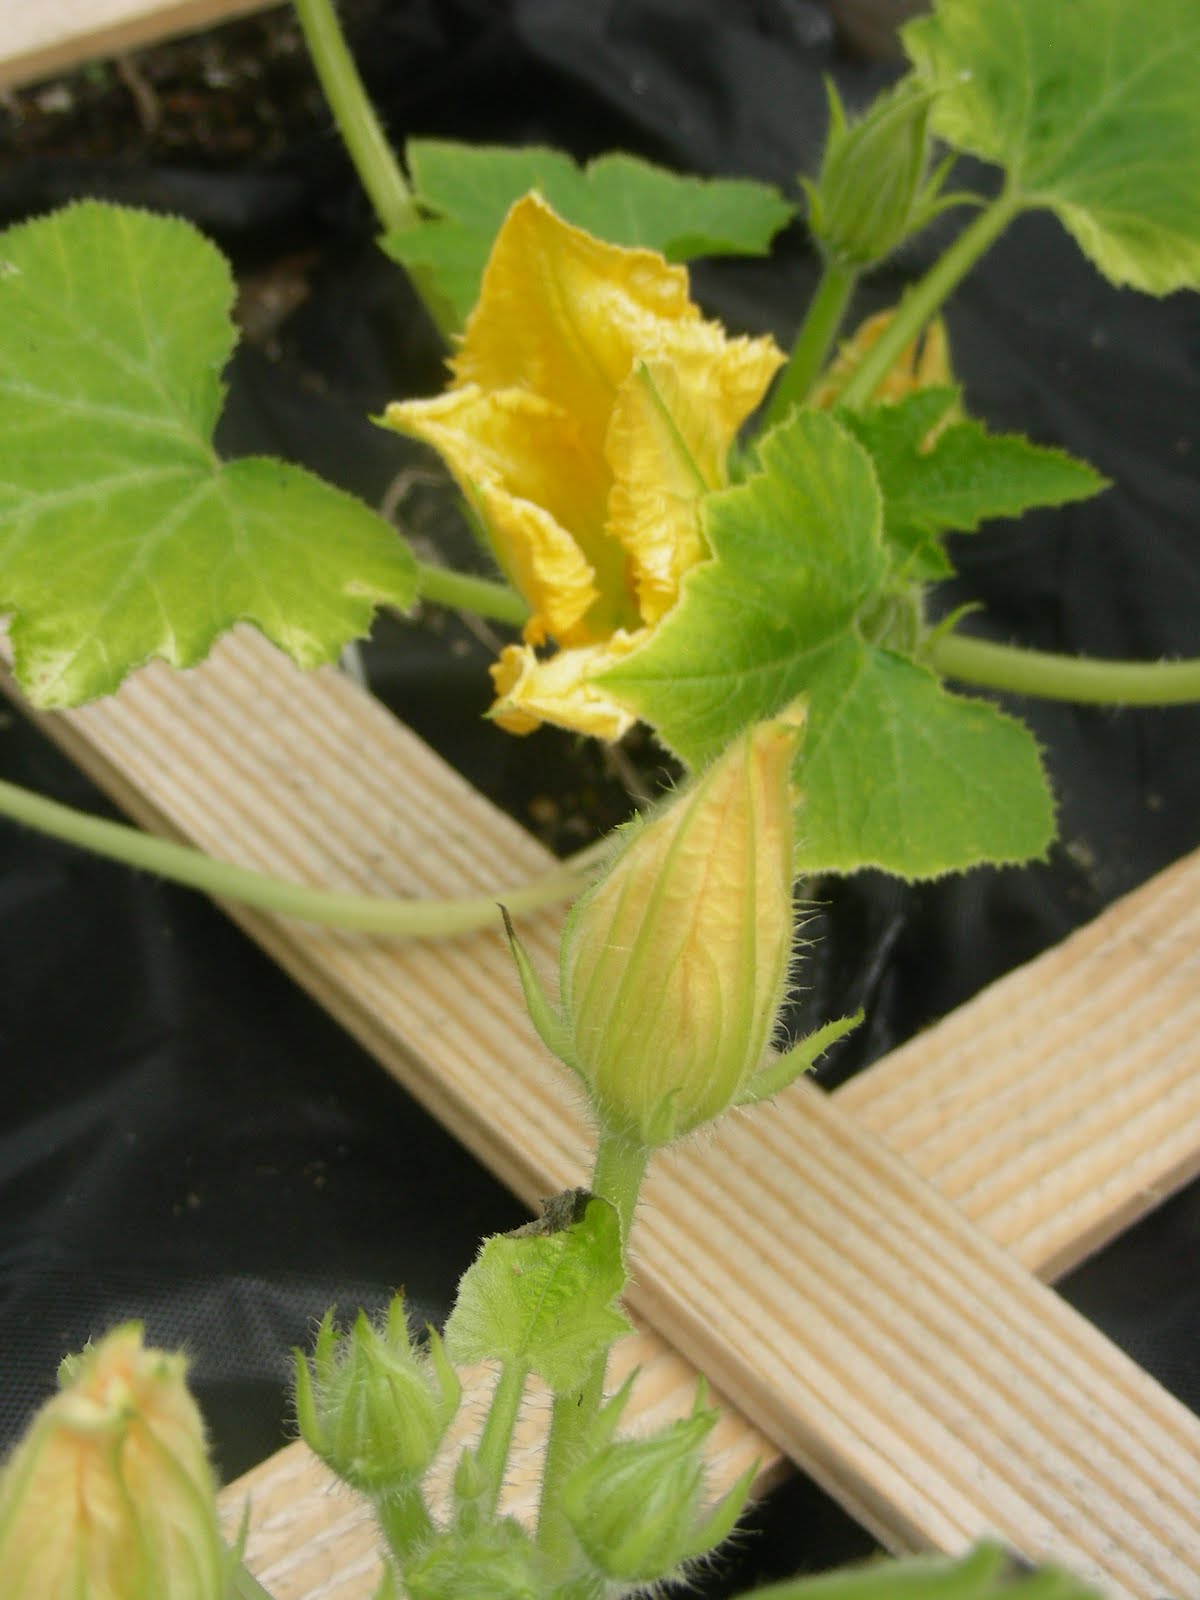
7. I've learned to be careful which variety of nasturium I grow. Some are low and drapey, but this one (Ed Hume's "Tall Single Mix," on left in above pic) has leaves like lilypads and can grow 3+ feet tall and wide! 8. Deer netting not only keeps out squirrels, raccoons and cats, but also will keep momma cabbage moths off the broccoli and cabbages if the netting encloses the whole bed. 9. It's good to plant 2 squashes (and pumpkins) for every one you really want, then pull up the weaker one later if there's not enough room. Some never set fruit.

10. Walla Walla onions (on lower right of the above pic) may not reach full size in Western Washington, but they make very nice green onions! 11. Slugs LOVE beans. And lettuce. And tomatillos. And bok choy. And slug-picking may slow them down but not enough to save those seedlings. 12. Once it is warm enough for slugs (July this year) to be out, you'll need chemicals help to stop them. 13. It is really nice to have a square or two of flowers mixed into each veggie bed! 14. Even if the lettuce doesn't bolt, it gets bitter when it is several months old. 15. Once critters find something they like, they won't let up. Keep the strawberries well fenced at all times. 16. Even if the birds can't eat the cherries through the netting, they will knock them off unless you put visible flags on the netting to scare them away.17. I've learned that although growing starts from seed is more cost-effective, it is worth the money to buy healthy, large starts of some types of plants at the time the weather permits planting. Homegrown tomato, pepper, melon, and eggplant starts may die after months of babying and hardening off since February. 18. Compost needs a LOT of dry "brown" material and a LOT of turning and aerating. 19. It is always better to plant 2 seeds per hole and thin or transplant, than to lose 2 weeks of the growing season and replant again.
And last, but not least...
20. Gardeners always want to have MORE space and try MORE varieties next year!